The Best GitLab Backup Options and Tools for Your Repository
What will you do if you accidentally lose access to your GitLab repository? Or some of your issues, pull requests, webhooks, or other metadata are gone forever?
You may think that if you keep all your data in Git and use GitLab, which is one of the most secure Git hosting services, everything will be fine. However, losing access to your GitLab repository is a very real possibility and can be disastrous, especially since a GitLab instance contains critical data essential for your software development and organizational workflows.
Keep in mind that Git isn’t a backup in and of itself, and GitLab just like any other service provider is governed by the Shared Responsibility Model, which means that your data is entirely your responsibility. The service provider is only responsible for their service being ongoing and their data being secured.
In this article, we’ll look at different methods and tools you can use to back up GitLab, as well as their pros and cons.
Why Do You Need to Back Up Your GitLab Environment?
There’s no doubt that organizations are up to ensuring the safety and integrity of the data they store within their GitLab instance. We shouldn’t forget that source code is the most valuable asset each company has. However, the threat of losing access to their data isn’t the only reason.
Eliminating Data Loss and Ensuring Business Continuity When Your GitLab Instance Contains Critical Data
Ransomware attacks, outages, vulnerabilities while building, and other various events of failure can result in data loss. To mitigate these risks, it is crucial to regularly back up and restore your GitLab data to ensure business continuity. Unfortunately, such events are happening rather often. That’s why it’s crucial for companies to know how to behave once such a critical situation happens, and, what is more, adopt all the necessary security measures that can help you prevent the worst disaster scenario.
Aligning with the Shared Responsibility Model
Moreover, we shouldn’t forget about the already mentioned Shared Responsibility Model, that every SaaS provider follows. Under this model, GitLab is responsible for the business continuity of their systems and shares the responsibility for the user’s GitLab data protection. Thus, for example, in the GitLab Subscription Agreement, it’s stated that GitLab is responsible “for establishing and maintaining a commercially reasonable information security program that is designed” to:
- make sure that the Customer Content is confidential and secure;
- protect against any potential threats or risks to the integrity or security of the Customer Content;
- prevent unauthorized access to or use of the Customer Content;
- ensure that any GitLab subcontractors, if any, adhere to the aforementioned requirements.
On the other hand, a user is responsible for their data—it’s them who should guarantee the security of their own stack. Here’s what GitLab states in the same document:

What does “commercially reasonable security” mean? It includes all the security measures that the user thinks are necessary to protect their own data, and backup of the GitLab environment is definitely on this must-have list.
Meeting Compliance, Legal, or Other Organization Requirements
Once your organization steps onto the security track, you understand that you need to comply with straighten security requirements and regulations. What’s more, you need to pass security checks and audits to show that your product is reliable and secure. For that reason, you need to pass such security standards as GDPR, ISO 27001, SOC 2 Type ISOC 2 Type II, and one of the requirements to pass those security audits is a reliable backup and Disaster Recovery strategy that guarantees your business continuity.

Which GitLab Backup Options Should You Adopt?
A lot of organizations rely on GitLab, or to be more precise, more than 100,000 companies use GitLab as part of their infrastructure. The effectiveness of these backup options can vary based on the specific configuration and usage patterns of your GitLab deployment. This DevSecOps platform provides numerous security measures to protect their customers’ data. However, when it comes to backup, “GitLab lacks support for many backup features, including incremental backups, selective restore, default encryption”—as it’s stated in GitLab’s Category Strategy—Backup and Restore. Thus, the Git hosting provider enables you to use different GitLab Backup methods.
While free backup solutions can be rather appealing, they often lack reliability and require a lot of attention from your DevSecOps team’s side, as well as their manual effort. Professional backup solutions, on the other hand, help organizations automate backup processes, reduce shared responsibilities for data protection, meet the company’s compliance requirements, and improve security.
GitLab Backup and Restore Utility
Appreciating security a lot, GitLab has their own dependability measure to help their users with GitLab backups: a built-in backup and restore utility—gitlab-rake. This utility is particularly useful for organizations that need to back up and restore large reference architectures to maintain data integrity. Using these Rake tasks functions, you can build an archive file that contains all of your GitLab data, including database, repositories, configuration files, and attachments.
To perform a Rake task, you may need to use the appropriate command that depends on what version of GitLab your organization uses and how you installed GitLab (basically, you have 3 scenarios).
GitLab was installed using the Omnibus package
Whether you used the Omnibus package to install your version of GitLab, you’ll need to select one of the commands:
- sudo gitlab-backup create if you use the 12.2 version of GitLab and later,
- gitlab-rake gitlab:backup:create if your version of GitLab is 12.1 and earlier.
GitLab was installed from the source
In this case, all you need to do is to run the command—sudo -u git -H exec rake gitlab:backup:create RAILS_ENV=production
GitLab is run from within the Docker container
Running the service form within the Docker container permits you to start your backup from the host. Thus, if you use GitLab version 12.2 or later, run docker exec -t <container name> gitlab-backup create. If you use the version GitLab 12.1 or earlier, you may need docker exec -t <container name> gitlab-rake gitlab:backup:create.
GitLab was trying their best to describe how to back up your GitLab instance by providing in-depth documentation. However, they need a lot of your attentiveness and time to read all the articles and then create your backup copy. Moreover, those items that are stored outside your file system aren’t included in the GitLab backup, which means that you still may lose some of your source code.
Manual Export and Download from GitLab
Probably one of the easiest ways to have a copy of your GitLab data is to manually download your archives to your local device. This way, you can export and download repositories, as well as snippets.
Despite its simplicity and affordability (it’s free of charge), it doesn’t provide you with a complete backup. First, those archives don’t contain your metadata, so you don’t get a copy of your entire GitLab instance. Then, it’s a fully manual procedure that requires a lot of attention from your team, and what if you have numerous GitLab repositories? It will eat into their time a lot, as well. Finally, this method requires you to manually restore your data should the failure happen. So, recovery is going to be an extra task for your DevOps team.
PgBouncer as a Backup Option
Connecting PgBouncer is another alternative for backing up your GitLab instance. Factors such as data storage locations and volume influence the reliability of this backup method. However, you should be cautious, as this method can be considered a reliable one. GitLab states that it can cause your GitLab instance to go down and you will get an error message in this case: ActiveRecord::StatementInvalid: PG::UndefinedTable.
To help you avoid this challenge GitHub warns that your backup and restore tasks “must bypass PgBouncer and connect directly to the PostgreSQL primary database node.” On the contrary, you can also use environment variables that will override the settings of your database after your backup performance.
GitLab Repository Cloning
Some DevOps may consider cloning a backup option itself. Is it, though? Well, by cloning a GitLab repository you get a local, fully functional copy. You download remote repository files to your computer and then make a connection between them. The procedures for backing up and restoring a GitLab instance vary based on the specific configuration and usage patterns of the deployment. Yet keep in mind that this connection will require you to add credentials.
There are 3 possible ways to clone your GitLab repo:
- Using SSH and running the git clone command [email protected]:gitlab-tests/sample-project.git. Thus, you will need to authenticate yourself only once.
- Using HTTPS and running the git clone command https://gitlab.com/gitlab-tests/sample-project.git. In this case, you will need to authenticate yourself each time you perform a backup operation between your computer and your GitLab instance.
- Cloning with HTTPS using Personal access, Deploy, Project access, or group access tokens via the command git clone https://< username>:< token>@gitlab.example.com/tanuki/awesome_project.git. It will permit you to enable Two-Factor Authentication or have a set of credentials that is recoverable and particular to one or more repositories.
File System Data Transfer or Snapshots that Enable Rollbacks
If your GitLab instance includes too much Git repo data, making the GitLab backup script significantly slower, or if your GitLab instance has too many branched projects and you don’t want to duplicate your GitLab data, you might opt for the snapshot or file system data transfer option.
However, keep in mind that file system data transfer or snapshot is not a backup method; it’s just a snapshot of your entire GitLab instance at some point in time. However, this method does not account for different storage locations and volume, which can affect its reliability. What’s more, the source OS should be comparable to the destination, making these methods of migration from one operating system to another very difficult or even almost impossible.
GitLab DIY Backup
As an alternative, you can try to use custom scripts and do-it-yourself (DIY) solutions. However, such an option may appear to be cost-effective at first glance, but still it has certain limitations. First, they usually have limited scalability, as sometimes they fail to meet the backup requirements of complex GitLab infrastructure, leading to performance issues.
Then, writing custom backup scripts can be time-consuming and require you to pay a lot of attention to ongoing updates and debugging.
And, finally, backup scripts have the risk of data loss and corruption, as it’s difficult to call them a reliable backup strategy planning.
Upgrade Your Plan to GitLab Dedicated
In 2022, GitLab released their most secure product—GitLab Dedicated—which has absorbed all the best features from GitLab and GitLab Ultimate. GitLab Dedicated offers tailored solutions that can adapt to various configuration and usage patterns, ensuring comprehensive data protection. It provides a variety of security features, including better encryption, full data and source code IP isolation, full control over your data, backup, and Disaster Recovery.
So, once you upgrade your GitLab plan to GitLab Dedicated, you will get snapshots that are performed on a regular basis. Moreover, you will get the possibility to assign additional storage where you’ll be able to keep your backups. In this case, you can meet the 3-2-1 backup rule, by keeping the backup copies in different storage locations.
Despite the positive side, there are some disadvantages. For example, you can’t schedule your backups to be run at the exact time you want, the backup plan that GitLab Dedicated provides is predefined. What’s more, if you have strict RTO and RPO demands, it would be difficult to adjust them as well, as GitLab defines those metrics as RTO target for 8 hours and RPO target for 4 hours.
Third-Party Backup Tools
Another option you can decide on is to adopt a third-party backup solution to back up your GitLab environment. These tools offer advanced features to back up and restore your GitLab data efficiently. In this case, you will be able to share your responsibility for data protection with specially designed backup software.
Although GitLab is developing its own backup options and is a reliable DevSecOps platform, organizations still should look for better backup alternatives to meet their needs and requirements. While picking up the right GitLab backup option for your business, you should pay attention to the complexity of data management, GitLab ecosystem coverage (if your backup app includes repositories and metadata in its copy), security features, and recovery scenarios.
How you can benefit from third-party GitLab backup tools?
- You can get better control over the frequency of backups, retention time, and storage destinations.
- You can eliminate the consequences of human errors, outages, and ransomware attacks that usually lead to data loss or data corruption.
- You can restore your data fast with one click without writing any recovery script.
- You can meet strict security regulations and compliance requirements with backup reports.
Backup Archive Process and Management
Understanding the Importance of Backup Archives
Backup archives are a cornerstone of a robust backup strategy. They provide a secure and reliable way to store historical snapshots of your GitLab instance, enabling rollbacks to previous versions in case of hardware failures, software bugs, or accidental deletions.
These archives aren’t just about storing data; they are about ensuring business continuity and minimizing downtime, even in the face of unexpected disasters. By maintaining a comprehensive backup archive, you can safeguard your critical data and ensure that your software development or organization can quickly recover from any disruptions.
Strategies for Effective Backup Management
Effective backup management goes beyond merely creating backups; it involves a strategic approach tailored to the specific needs of your GitLab instance. Here are some key strategies to consider:
- Regular backups: Schedule regular backups to ensure your data is always up-to-date. This practice is crucial for quick restoration in case of a disaster.
- Multiple backup locations: Diversify your backup storage by using multiple locations, such as on-premises and cloud storage. This redundancy ensures that your data remains safe and accessible, even if one location fails.
- Backup validation: Regularly validate your backups to confirm they are complete and can be restored successfully. This step is vital to avoid unpleasant surprises during a recovery process.
- Backup retention: Implement a backup retention policy that aligns with your business needs. Determine how long backups should be kept to balance storage costs and data availability.
By adopting these strategies, you can create a resilient backup management system that protects your GitLab instance against various risks and ensures quick recovery when needed.
Disaster Recovery and Restore GitLab
Planning for Disaster Recovery
Disaster recovery planning is an essential part of a comprehensive backup strategy. It involves preparing for potential risks and developing a plan to restore your GitLab instance quickly and efficiently in case of a disaster. Here are some steps to help you plan for disaster recovery:
- Identify potential risks: Start by identifying potential risks to your GitLab instance, such as hardware failures, software bugs, and accidental deletions. Understanding these risks will help you develop a targeted recovery plan.
- Develop a disaster recovery plan: Create a detailed disaster recovery plan that outlines the steps to be taken in case of a disaster. This plan should include procedures for data restoration, communication protocols, and roles and responsibilities.
- Test the plan: Regularly test your disaster recovery plan to ensure it is effective and can be executed quickly and efficiently. Testing helps identify any weaknesses in the plan and provides an opportunity to make necessary adjustments.
- Train personnel: Ensure that all relevant personnel are trained on the disaster recovery plan. They should understand their roles and responsibilities and be prepared to act swiftly in case of an emergency.
By following these steps, you can help ensure that your GitLab instance is protected against disasters and can be restored quickly and efficiently in case of an emergency. This proactive approach will minimize downtime and ensure the continuity of your software development or organizational operations.
A Comprehensive Overview of GitLab Backup Applications
Due to its specific niche, there are only a few backup vendors that support GitLab backups. Let’s take a look at them in greater detail.
GitProtect.io
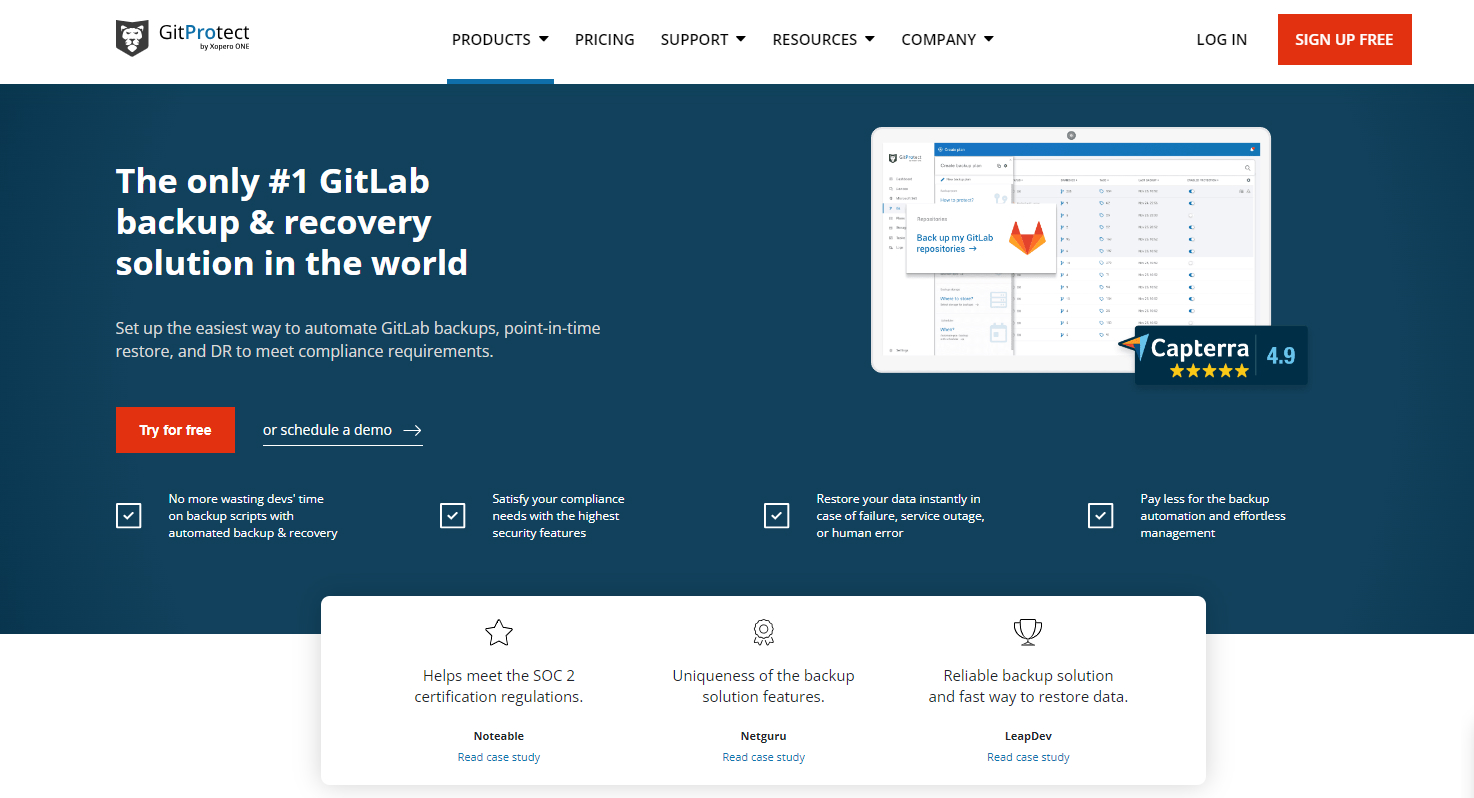
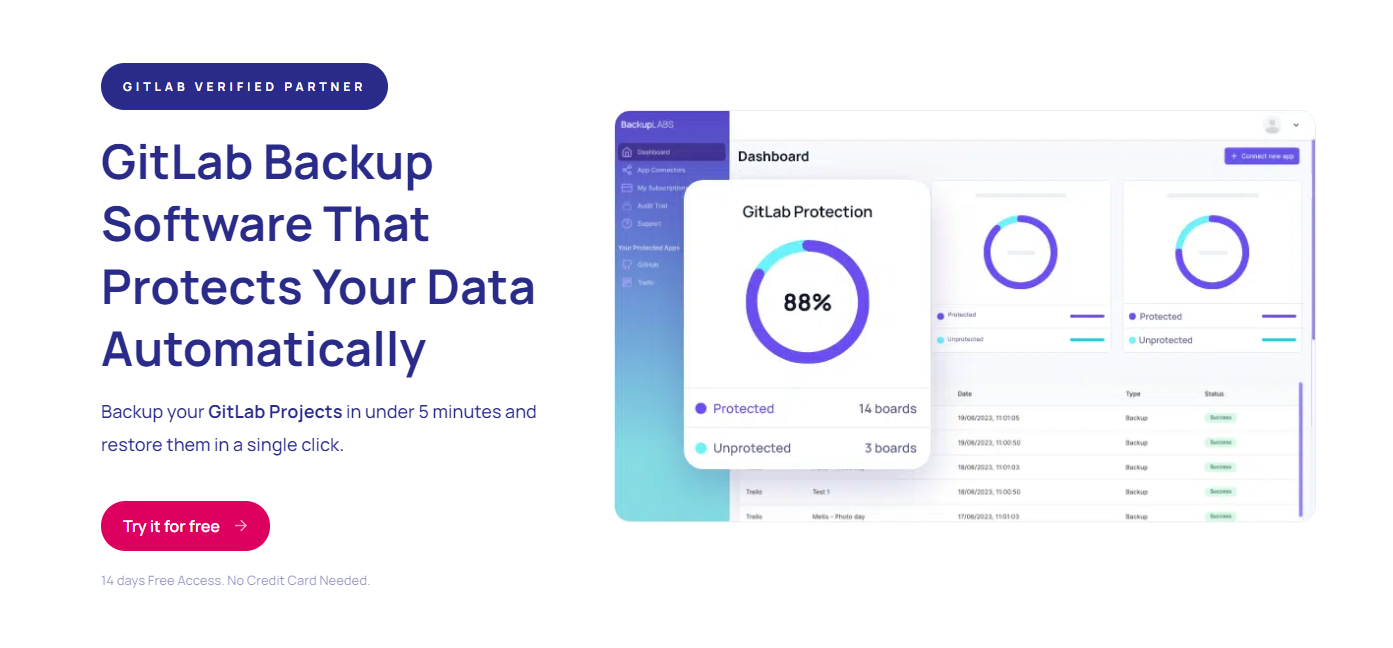
Being an automated backup software for GitLab and GitLab Ultimate, GitProtect.io is the easiest way to automate GitLab backups. The cloud-based or on-prem GitLab backup software offers the most comprehensive and advanced features, including backups and restore, scheduled and on-demand backups, and so on.
What sets GitProtect.io apart from other GitLab backup options?
Easily set up and manage your GitLab backups: To start backing up your data with GitProtect.io, you shouldn’t install any software or agents. You can simply view and manage your backups from any browser. Thanks to an intuitive interface and its detailed dashboards, visual statistics, compliance section, real-time monitoring, and on-demand actions you are always up-to-date on what is happening with your GitLab infrastructure backup.
Automate backups and reduce your DevSecOps team’s workload: To be sure that your GitLab backups are running as a clock, you can schedule your copies to be performed automatically at any frequency and time you need. Or, if the need arises, you can run your backup manually. Moreover, if your organization has any specific requirements, you can create your fully customized backup plan: different retention settings, including up to unlimited, various encryption levels, with the possibility to set your own encryption key, etc. You can also set multiple backup policies which are very helpful when you have a complex infrastructure—your organization has multiple offices, there are a lot of employees who are working remotely, or your organization operates in different time zones.
Assign as many storage instances as your organization requires: Being a multi-storage system with included unlimited free cloud storage, GitProtect.io allows you to assign any public storage you’d like, including AWS, Google Cloud Storage, Azure Blob Storage, Backblaze B2, and any other storage compatible with S3. Moreover, you can store your data locally—SMB network shares, local disk resources, NAS device—or even opt for a hybrid backup option and keep your critical GitLab data both in the cloud and locally. Thus, you can easily keep up with the 3-2-1 backup rule, having at 3 copies in 2 different storage destinations, 1 of which is offsite, or any other backup strategies that are gaining popularity nowadays—the 4-3-2 backup strategy or 3-2-1-1-0 one.
Guarantee full data coverage: With GitProtect.io you can backup not only repositories but also all the related metadata, including wikis, issues, snippets, issues, issue comments, deployment keys, pull requests, pull request comments, labels, webhooks, milestones, tags, LFS, pipelines/actions, releases, commits, collaboration, branches, groups, etc.
Ensure ransomware protection and data security: You can be sure that all your GitLab data is encrypted during the backup process, as the backup provider encrypts your data in flight and at rest, with the option of specifying your own encryption key. What’s more, in case you opt for GitProtect Cloud Storage, your backups will be kept in WORM-compliant storage with all the files stored separately. Thus, if ransomware attacks your storage, the malware won’t be able to spread inside your storage and infect all your files.
Meet compliance requirements: Thanks to advanced data-driven monitoring options, SLA section, custom notifications, reporting, and alerting, you are always aware of whether your backup job is done successfully or with warnings. Such an easy overview of backup performance helps you comply with numerous security regulations and compliance requirements, which include GDPR, HIPAA, ISO 27001, and SOC 2.
Secure authentication and authorization: You can enable login and authentication to the GitProtect panel with SAML & SSO, via Auth0, Azure AD, Okta, CyberArk, or Google. It will make your DevSecOps team’s authentication and authorization processes much easier, faster, and smoother.
Manage roles and permissions: You can assign different roles and permissions to your team members. Thus, some of your team members will be able to set backup plans, restore the data, manage data stores, and system settings, while others, the least privileged, will be able to only view the settings. Thus, you will have full control over your backups and their management, as you know what responsibilities every member of your team has.
Recover your GitLab data from any point in time: Foreseing any disaster scenario, GitProtect.io helps you eliminate the consequences of any possible threat—ransomware attack, GitLab outage, your infrastructure downtime, human mistakes, intentional or unintentional deletion. The backup vendor provides you with numerous recovery options, including point-in-time restore, granular recovery of repositories and selected metadata, cross-over recovery to another Git-hosting service (e.g. GitHub or Bitbucket), restore to the same or new repository or organization, or recovery to your local device.
To see how GitProtect.io can help you build your backup strategy, you can try the backup solution for free during a 14-day trial. After the trial period is over, you will need to pay $18 for up to 15 GitLab repositories per month to continue backing up your GitLab environment.
BackupLABS
Providing GitLab backup software, BackupLABS enables GitLab Project automated protection against human errors, malicious users, platform issues, or ransomware and viruses, permitting rollback to specific data in one click.
Automated backups: You can select what GitLab data to protect and set up a backup plan which will be automatically updated every 24 hours.
Backup encryption: Your backup copies are encrypted during both in-flight and at rest with the AES 256 encryption algorithm.
Ensured compliance: You can have accurate and easily accessible records of your GitLab data history.
No need for coding or scripting: You can recover your data by simply defining the needed data to be restored fast.
Daily reports: You can receive daily updates on the statuses of your GitLab backups.
Around-the-clock support: You can turn to the backup support team at any time of the day or night.
Ownership with manual download: Download your own copies when you need for ownership assurance.
If you want to try this solution you can subscribe for a 14-day trial period. After the end of your trial, you will need to pay $9,60 per month for up to 10 GitLab projects to back up. Depending on the number of GitLab projects you want to protect, the price will grow respectively. For example, if your organization has 1,000 projects in your GitLab environment, then you’ll need to pay $960 a month.
Summary of Top GitLab Backup Tools and Options
Which backup option is the best to meet your backup needs and requirements? There’s no silver bullet and it’s up to you to decide. You should test all the solutions, analyze them, and then pick up the most suitable option for your organization.
However, don’t forget that GitLab data backup is your responsibility, and the well-being of your data depends on your decision. Should you opt for your own backup strategy or rely on the third-party backup tool, make sure that you follow GitLab backup best practices—perform regular backups, DR possibilities, ransomware protection, security measures, and so on.